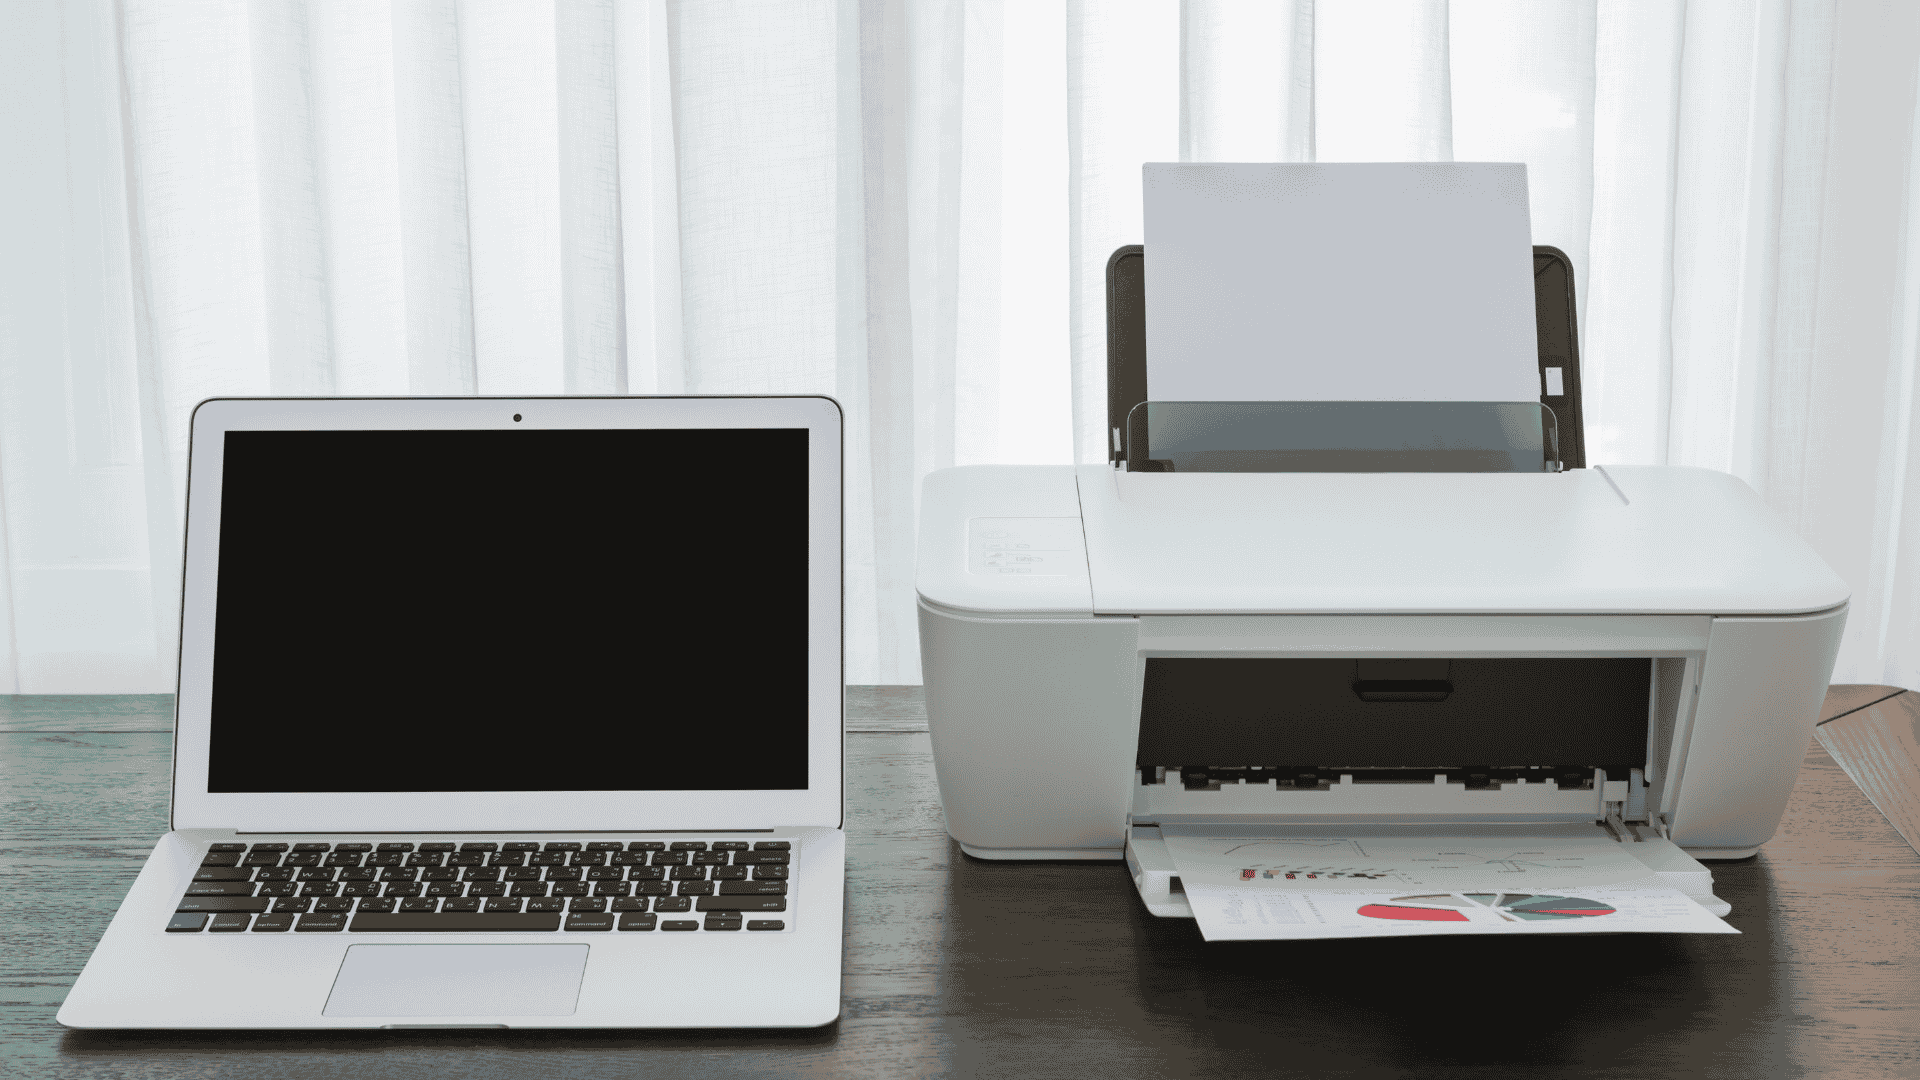
Printer setup is easy! Unbox your printer, connect it to power, install ink or toner, load paper, and install drivers. For wireless printer setup, connect to Wi-Fi and follow on-screen instructions to start printing smoothly.
Printer Setup Instructions
Unbox the Printer
Start your printer setup by unboxing the printer carefully. Remove all packaging, check for accessories like power cables and ink cartridges, and read the manual. Ensure all parts are included before proceeding with the installation.
Connect to Power
To begin printer setup, plug the printer into a power source and turn it on. Check for any power indicator lights. If the printer doesn’t start, ensure the power cable is securely connected.
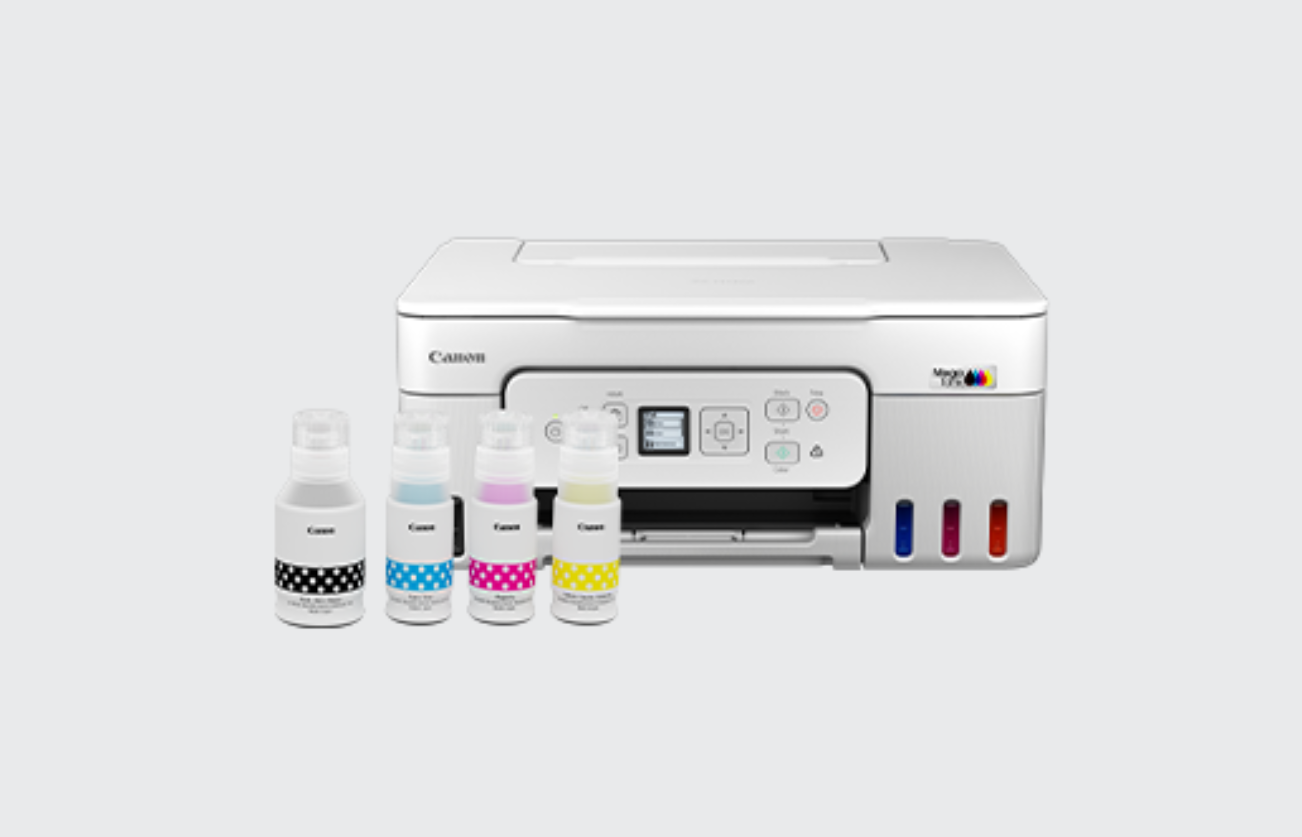
Install Ink or Toner
During printer setup, open the ink or toner compartment, insert cartridges correctly, and secure them in place. Follow the printer’s instructions to complete installation. Print a test page to ensure the ink or toner works properly.
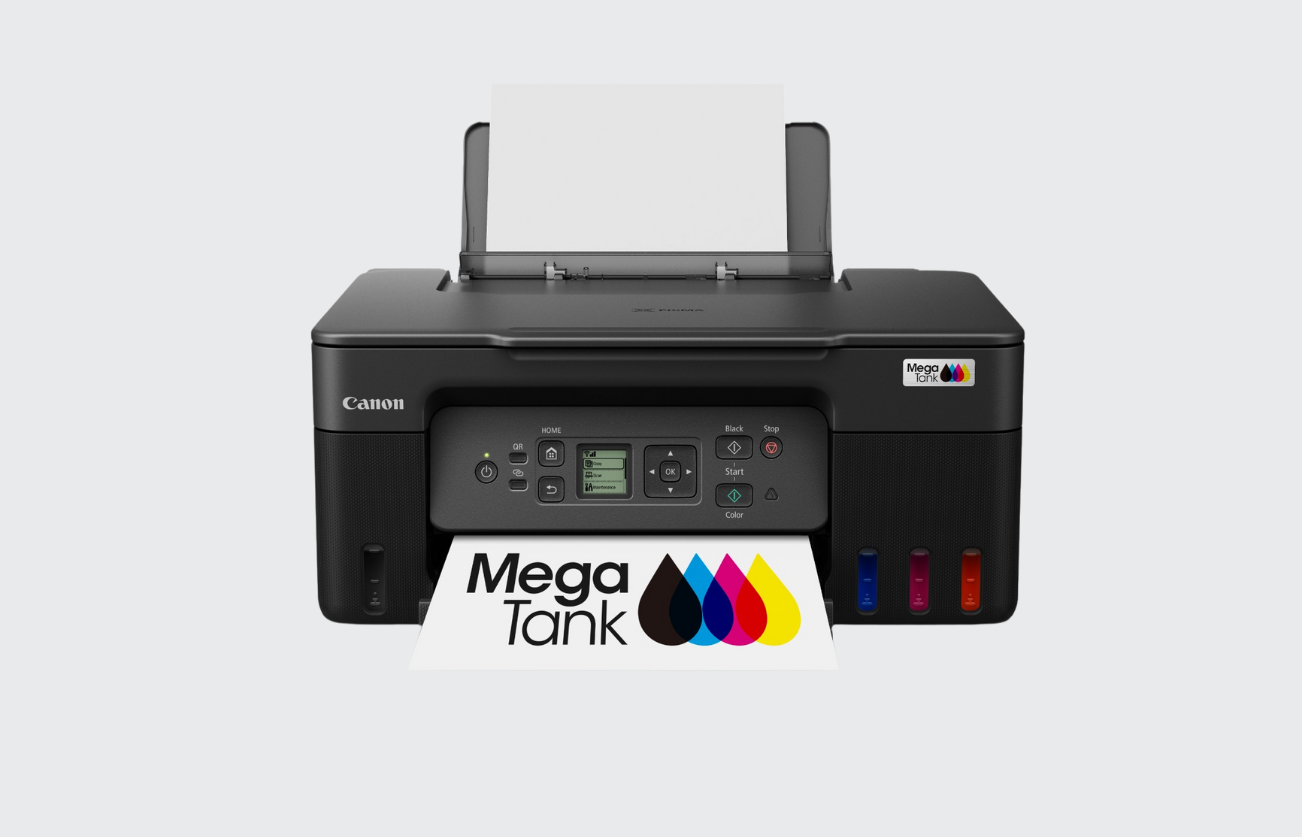
Load Paper
Open the paper tray, make the necessary adjustments to the guidelines, and load the appropriate size of paper to finish setting up your printer. Make sure the paper is correctly positioned to prevent print errors and jams. After closing the tray, begin printing.
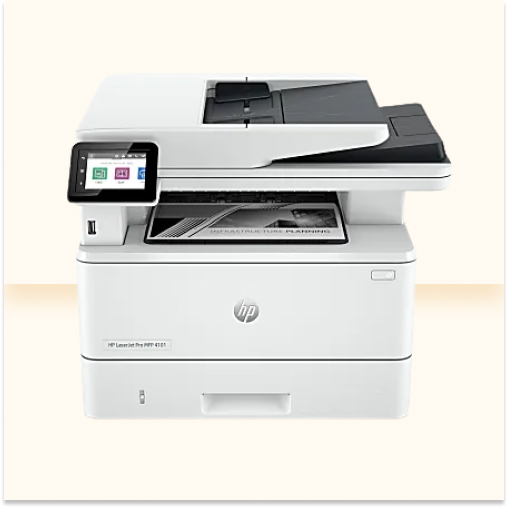
Install Printer Drivers
Get the most recent printer drivers from the manufacturer's website and install them to finish setting up your printer. For your printer to install correctly and function seamlessly with your computer or network, adhere to the on-screen directions.
Connect to Computer or Wi-Fi
Get the most recent printer drivers from the manufacturer's website and install them to finish setting up your printer. For your printer to install correctly and function seamlessly with your computer or network, adhere to the on-screen directions.
Set as Default Printer
Set your printer as the default to finish the setup process. To guarantee consistent, seamless printing, go to Devices > Printers in your computer's settings, pick your printer, and then click "Set as Default".
Test the Printer
After completing the printer setup, print a test page to check for clear prints and proper alignment. If issues arise, restart the printer, check ink levels, and ensure the printer setup is correctly configured.
Troubleshoot if Needed
If your printer setup isn’t working, restart the printer, check all cables, update drivers, and ensure the printer is connected properly. For wireless printer setup, verify the Wi-Fi connection and reconfigure the network settings if needed.
To complete your printer setup, unbox the printer, connect it to power, install ink or toner, load paper, install drivers, and connect it to your computer or Wi-Fi for smooth printing.
To connect your printer to Wi-Fi, access the printer setup menu, select Wi-Fi settings, choose your network, enter the password, and confirm the connection for wireless printing.
If your printer is not detected during printer setup, check connections, restart the printer and computer, update drivers, and ensure the printer is properly connected via USB or Wi-Fi.
If your printer setup fails, restart the printer, check all connections, update drivers, and ensure Wi-Fi is working. Reinstall the printer setup software if needed to fix the issue.
If your printer prints blank pages, check ink or toner levels, clean the printhead, and ensure proper printer setup. Also, verify that the correct paper and print settings are selected.